
So, this Thursday was the first late night opening at Bourne Mill - Yay!
We had a little vino fizzo and good old natter in terms of a celebration of this milestone! But only once I'd straightened out my room a bit -

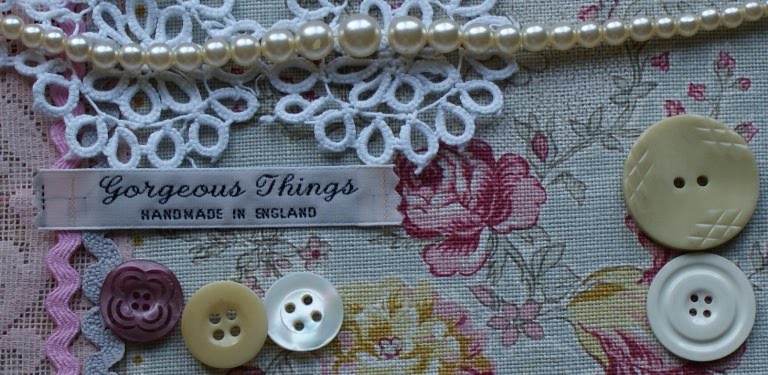
I took a few shots for my slide show on the web site.

Maybe I should have taken these shots after I'd filled in the gaps with the new stock!

But sometimes you don't notice these things until you look at the photos.


You can't beat a bit of a sparkly light, can you? So pretty!
I'm not completely happy with the way I have my room laid out, so I'm going to have a really good look over all the photos I took on Thursday so that I can get it better. It can be tricky, as all my pieces of furniture are for sale, so when they get sold, all the contents get dumped on the nearest available surface, and I have to try to rearrange and make it all look nice again as best I can when I go in to restock. Any ideas or tips, would be very welcome!
Meanwhile, the plate rack and the what-not I showed you as WIPs in my last post are now finished.

I stripped the old wax off this piece, then I knotting solutioned it, primed it, 1st coated it in F&B Pointing, 2nd coated it in a mix of acrylics (from the paint box) in greens and blues applied in a sponged on wash (at this point it looked like it had gone mouldy!), 3rd coat in F&B "Bone", 4th coat in F&B "Pointing" - phew! that was the painting finished. Then I distressed it (quite ruthlessly) so that you can see back to the wood in parts, but through all the various layers of paint. It was a bit experimental, but I'm happy with the result. Mr Thing said if he was going to buy it that he'd want a bit more paint on it (cheek! - I think he missed the point). I'll have to let the public decide - it will be going in the shop on Monday!

Meanwhile the Cath Kidston decoupage on the little what not has been very satisfying. I love papering furniture! For anyone who fancies trying it, my first tip would be to make sure you use paper which is proper paper - if you know what I mean! Don't use wrapping paper for example which tends to not have much actual paper content and has a "shiny" finish, as it doesn't absorb the glue - so you can get a horrible mess when you apply it. You need paper which is a bit absorbent (like wallpaper) so that you can work it whilst it is wet. That gives you time to get all the air out, so you get a nice finish. Maybe I should give a quick tutorial on my blog sometime?
Have a nice weekend!
Love the plate rack..WoW! that was a lot of work.My OH would say,'why do you want it to look tatty!' honestly...men..they've got no idea!The little 'what not' would just fit in my bathroom ;0). Thanks for the tip about the paper..and yes please to a little tutorial!
ReplyDeleteI think I'm going to have to make a trip to Bourne Mill!
Bellaboo :0)
Just found your blog - love it. That plate rack is great. I have just done something similar to a little bookrack I got for £3 from my local charity shop - just for my own use - to go on my little desk at home. So much more personal than just buying a new one.
ReplyDeletei love the little plate rack, im sure after a bit of a potter you'll get the room right, it looks like theres lots of treasure there! fliss xxx
ReplyDelete